How to Create a New Calendar Event
Disclaimer
Before an event can be published, the AFCC team will review the event information to ensure it meets our high standards of quality. Please allow up to 7 days for this review and approval process.
Click the “+ Add an Event” button at the top right of the webpage
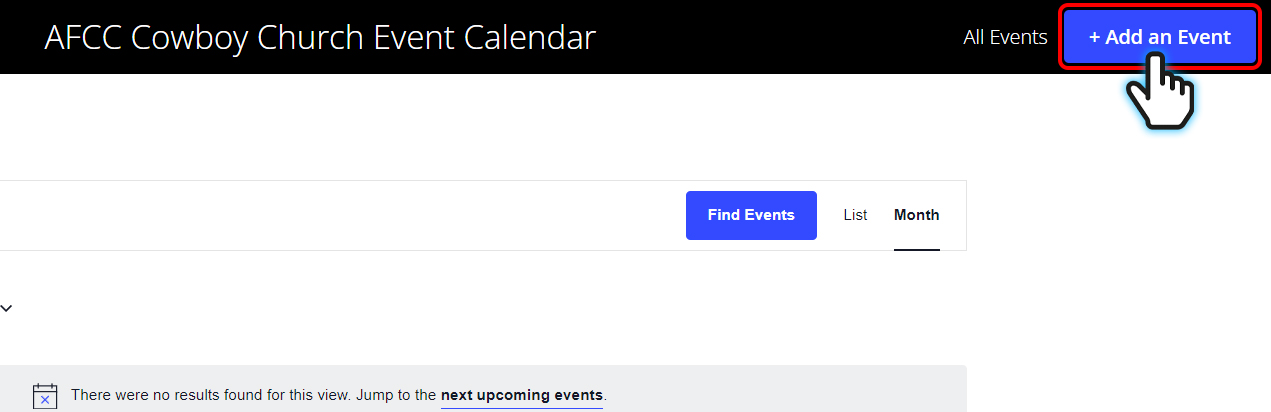
Click the “+ Add an Event” button to open the “Add New Event” page.
Add the EVENT TITLE

Click into the empty box located under the label “EVENT TITLE: (required)”.
Here you can insert the title of your event. The Title should include your church name and the name of the event.
Add the EVENT DESCRIPTION
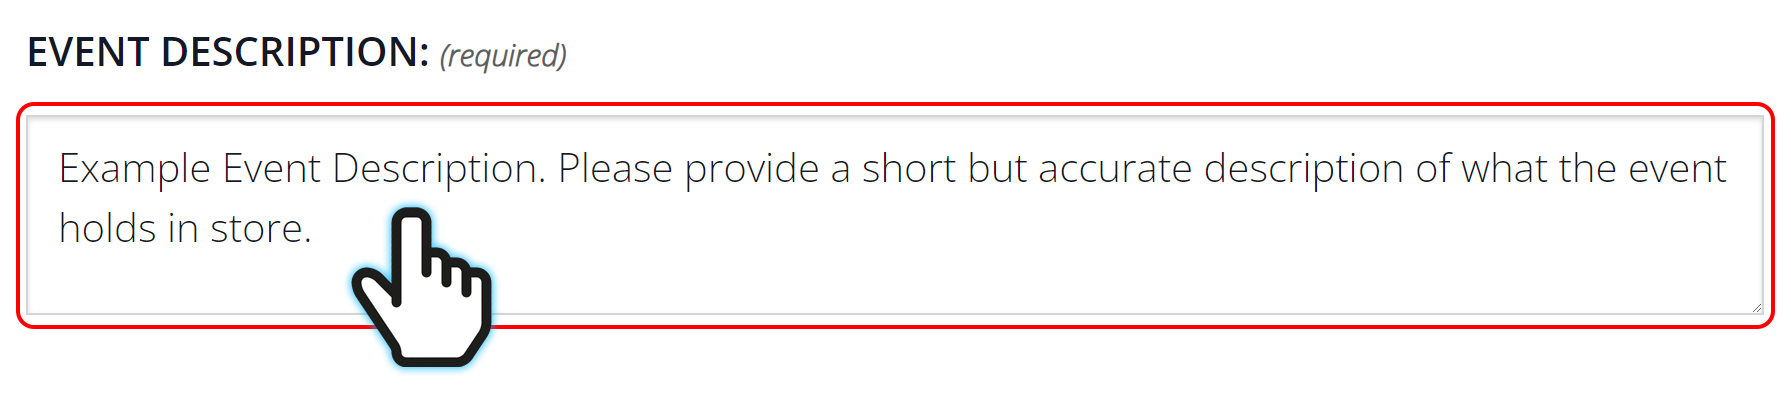
Click into the empty box located under the label “EVENT DESCRIPTION: (required)”.
Here you can insert the description of your event.
Make sure to provide a brief and accurate description of your event so that anyone who sees your event on the calendar can know what to expect.
How to add the EVENT TIME & DATE
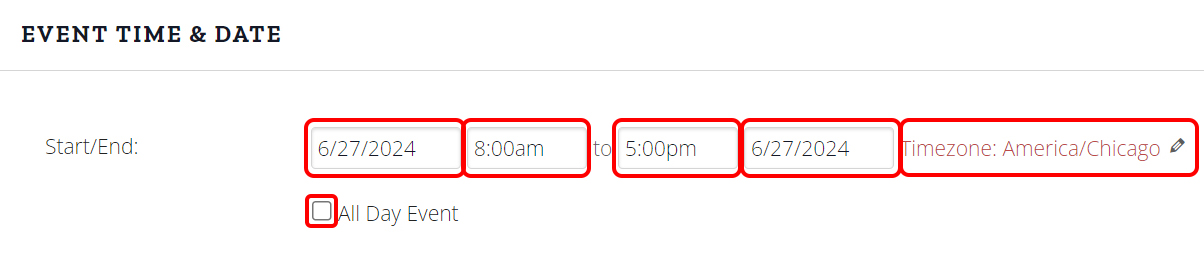
Here is where you can add the Start Date & Time, End Date & Time, whether it is an all day event, and even what time zone the event will be in.
How to add the EVENT DATE
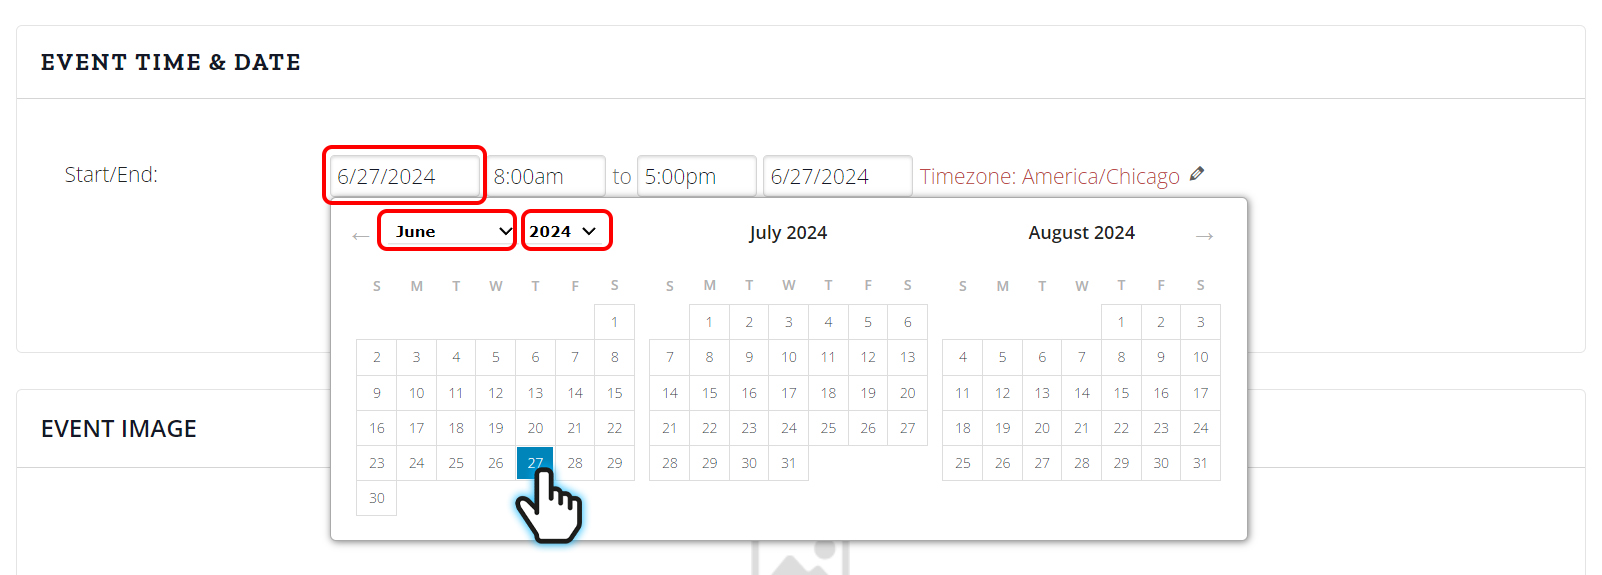
Click on the first box to open the calendar input. This will allow you set the start date of your event.
By default the date will be set to today’s date.
The fourth box will open the same type of calendar input. Here you can set the end date.
How to change the EVENT DATE month
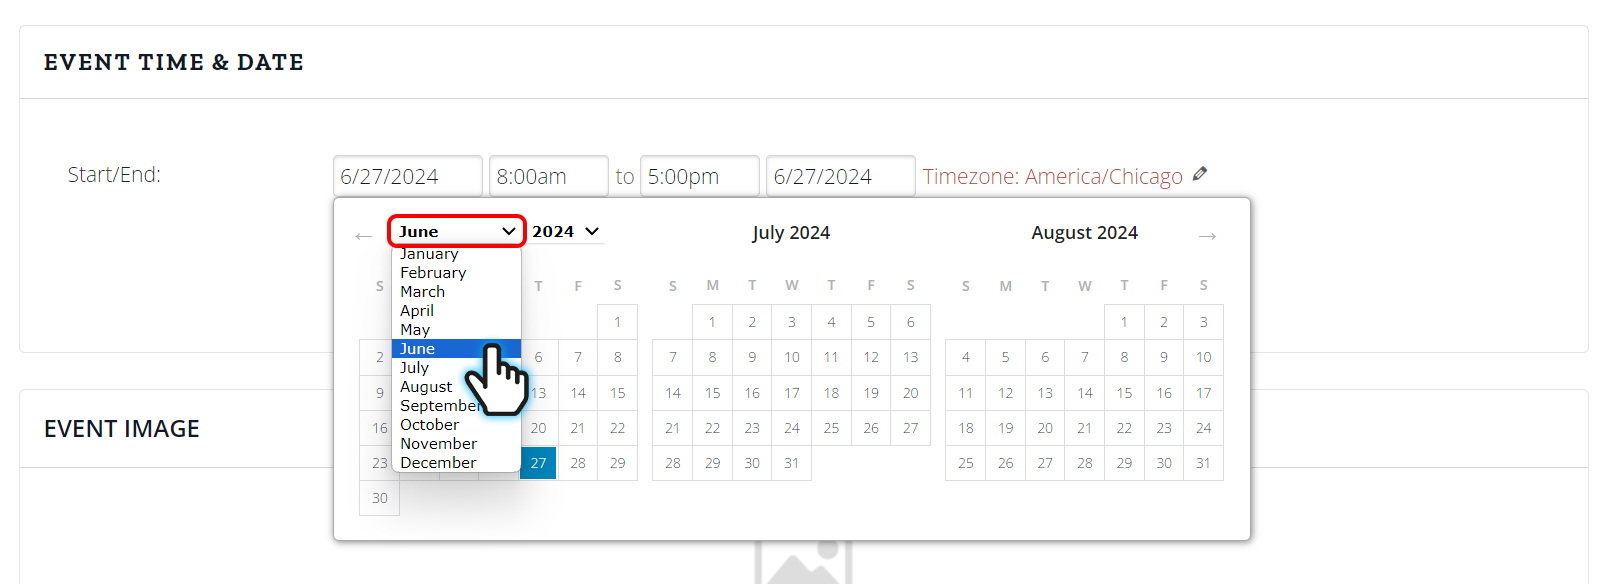
To change the month on the calendar, click on the box with the month.
Select the month of when the event begins.
How to change the EVENT DATE year
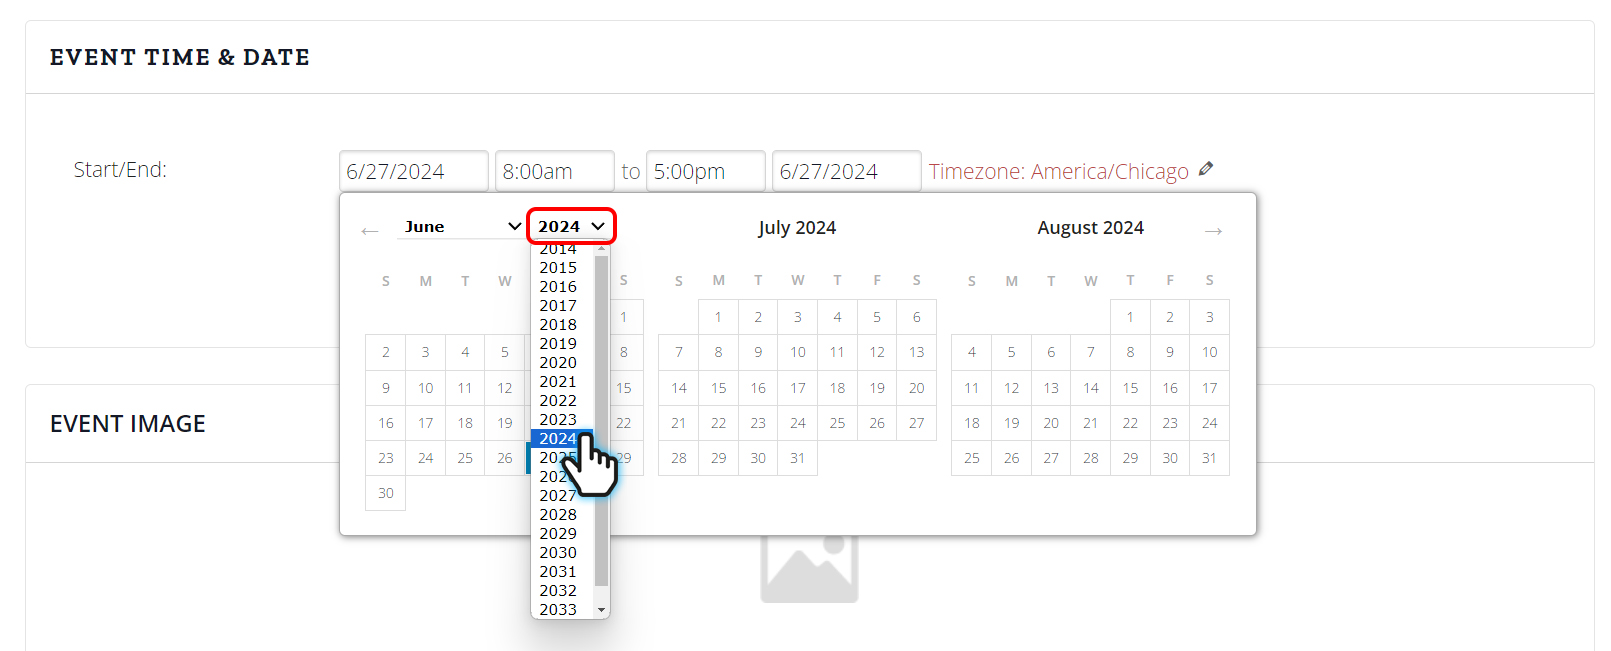
To set the year of the event, click on the box with the year. This will open the year options. Select the year of when the event begins.
How to change the EVENT DATE time
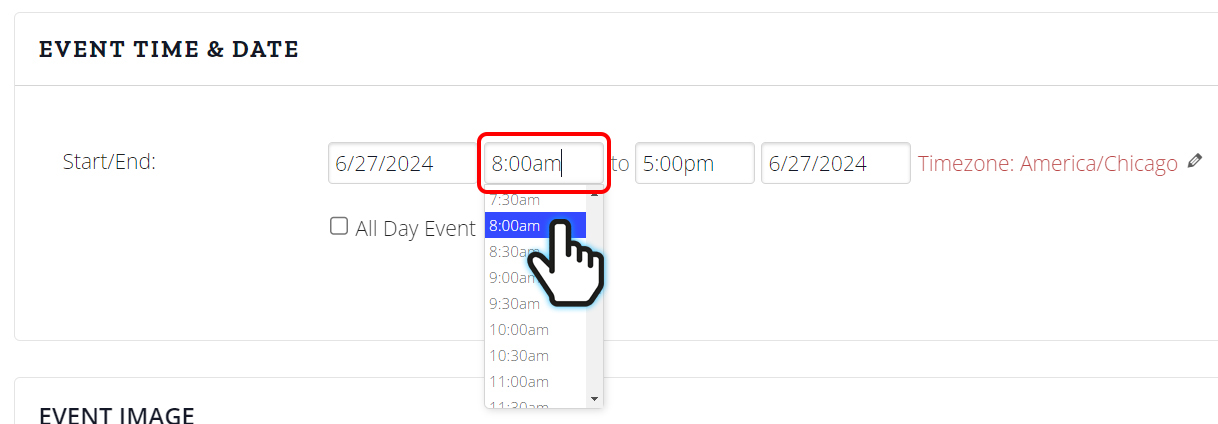
Click on the box with the time. This will open the time options in increments of 30 minutes. Select the closest time of when the event begins.
Follow the same process for the third and fourth box to set the end date & time.
How to change the EVENT DATE timezone
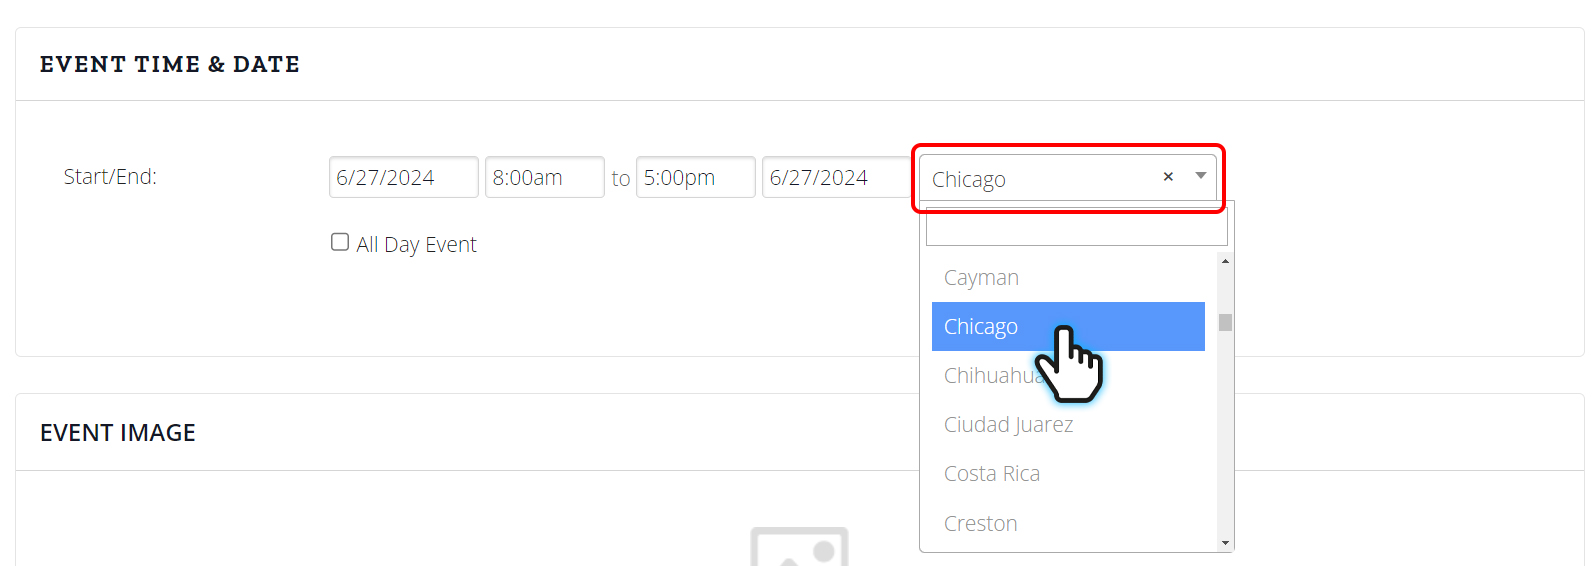
Click on the box with the text that begins with “Timezone: “. This will open the timezone options. Select the timezone that the event will take place in.
What if my EVENT is all day?
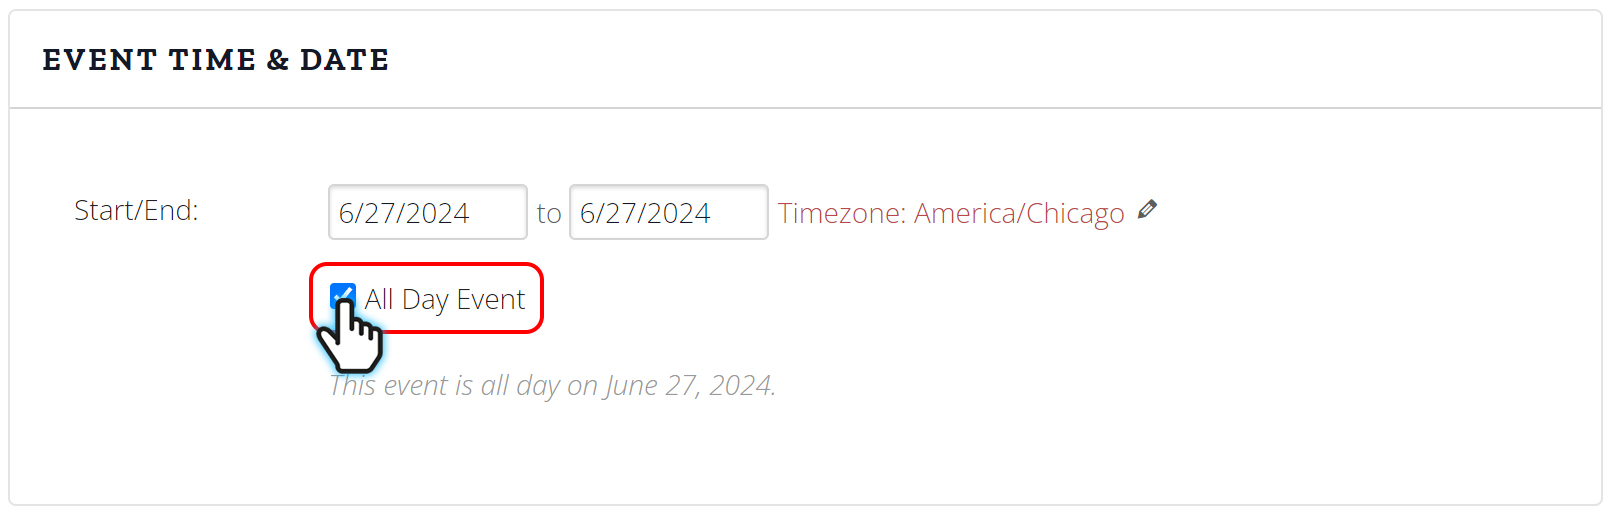
Click on the box next to the text that says “All Day Event”.
How to add the EVENT IMAGE

Click on the black button that says “CHOOSE IMAGE”. This will allow you to upload the event image.
*An image is important! Check with your organization to see if you have a poster, design, or an image for your event location.
Here is an excellent example of an EVENT IMAGE

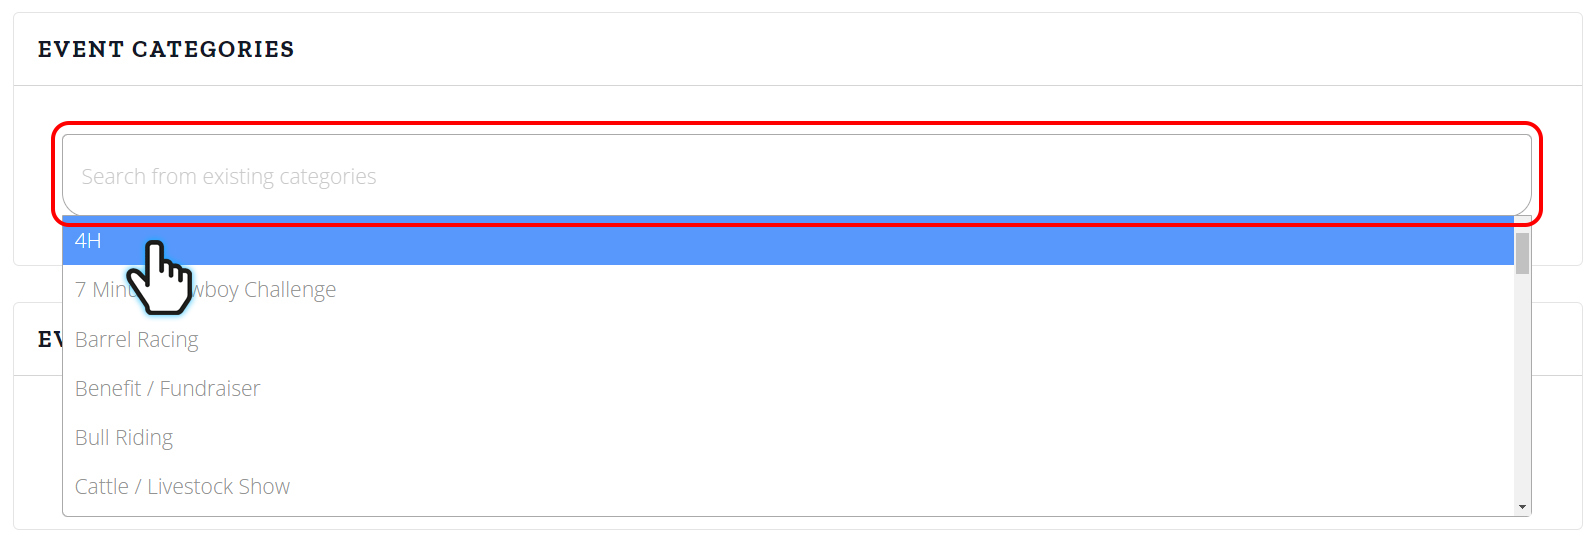
How to set the EVENT CATEGORY

Click into the empty box located under the label of “EVENT CATEGORIES”.
Once the empty box is clicked the EVENT CATEGORIES options will appear. Please select the category that matches your event.
How to set the EVENT STATUS
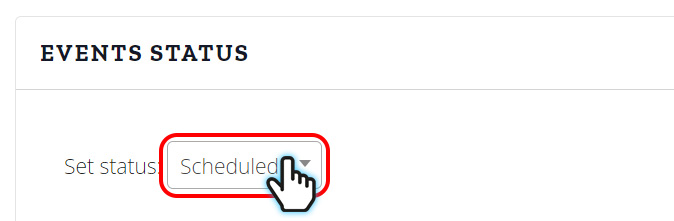
Click on the box next to the label “Set status:”
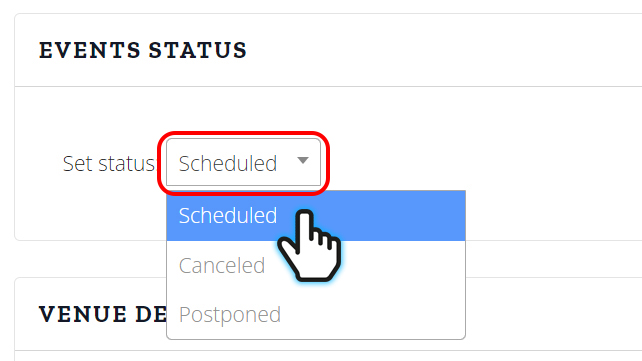
Once you click on the box the options “Scheduled”, “Canceled”, and “Postponed” will appear. Please select the status of your event.
How to add the VENUE DETAILS

Click on the box that says “Create or Find a Venue”.
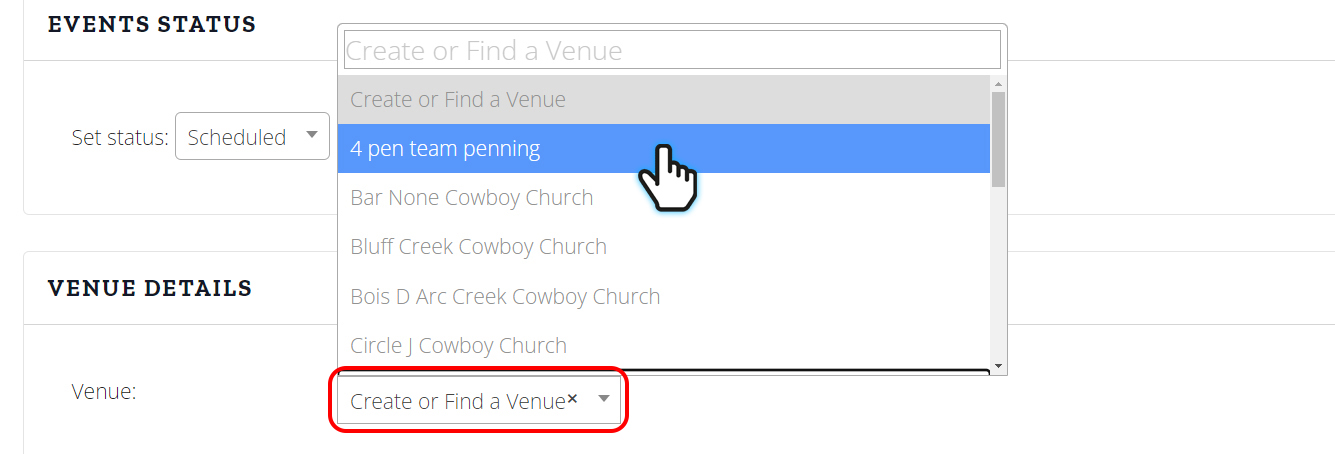
Once you click the box that says “Create or Find a Venue”, the Venue options will appear. At the top of these options is an empty box that says “Create or Find a Venue”. This box will allow to add and create a venue that is not one of the options already listed.
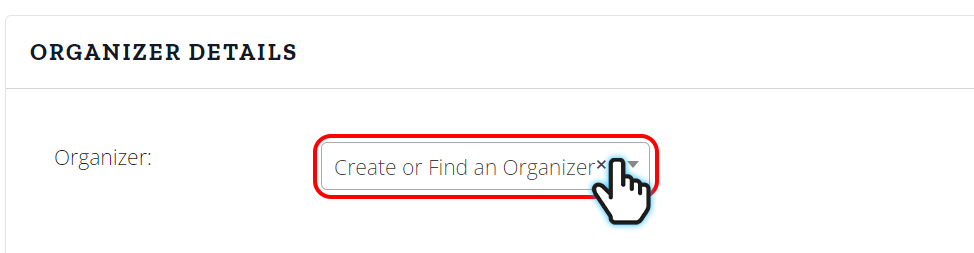
How to add the ORGANIZER DETAILS
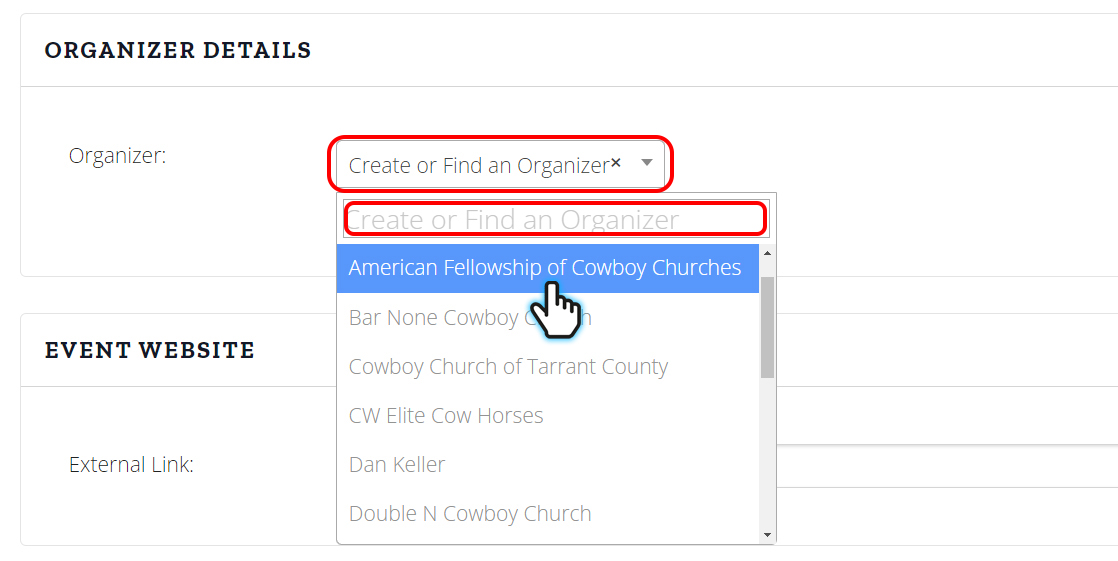
Click on the box that says “Create or Find an Organizer”.
Once the box is clicked the options for the event Organizer will appear.
If your event organizer is not already an option you can add the organization by clicking into the empty box that says “Create or Find an Organizer”. You can then type your organizers name and press enter or click on your organization highlighted in blue to set your event organizer–
How to add the EVENT WEBSITE
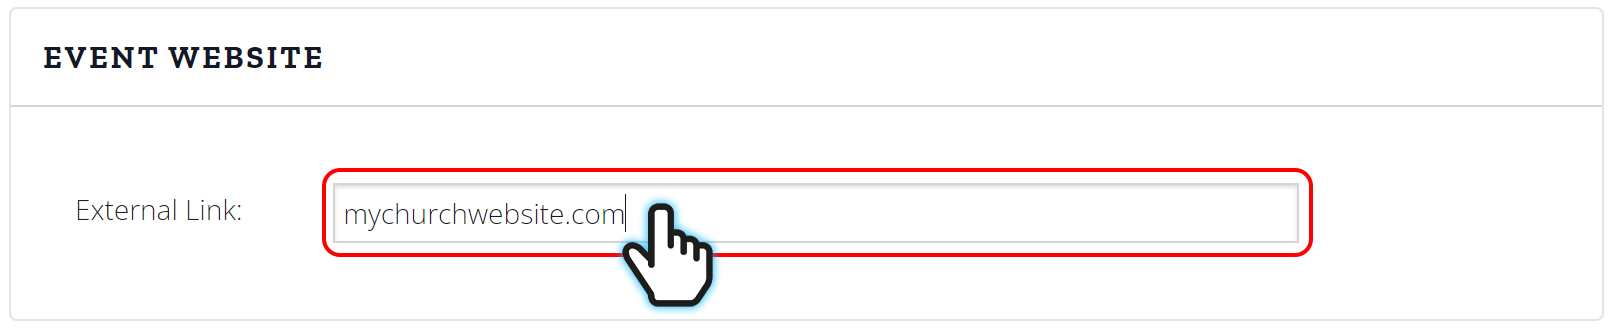
Click on the empty box next to the label “External Link.” Type in the website associated with your event.
How to add the EVENT COST
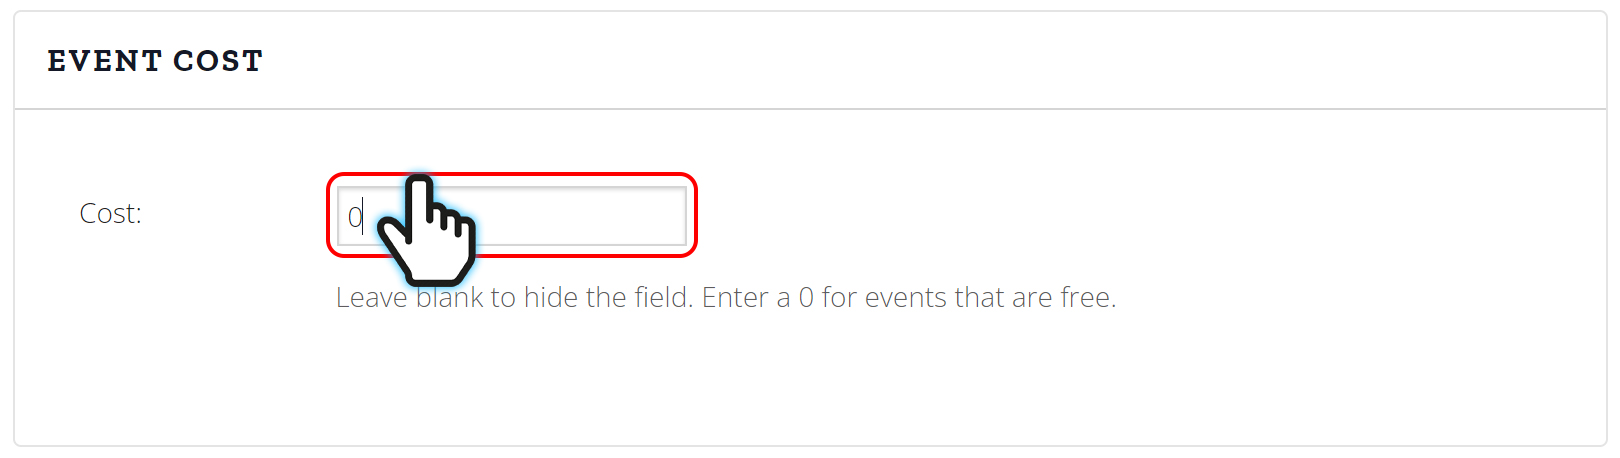
Click on the empty box next to the label “Cost: “. Here you can add cost of general admission. If the event is free to enter than simply type in 0(zero).
How to Submit your event

Please make sure all the details are accurate.
Once you are sure the details are accurate simply click the blue “SUBMIT EVENT” button.